Alternative bouquets are beautiful and fun, but putting one together yourself can be a little scary, especially if this is one of your first experiments with Do-It-Yourself. Fabric flowers are a lot of fun to make if you find the right patterns, but figuring out which ones are within your skill range can be tough. Here are a few patterns that I’ve experimented with (as a relatively unskilled DIY-er), and my mixed results:
Rolled Fabric Flowers
Their Result:

- Click for Tutorial
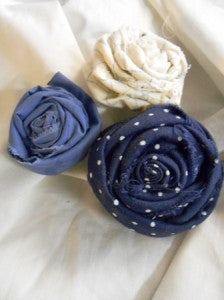
These simple little fabric rolled roses looked easy enough, so I grabbed some scraps of fabric from my junk drawer and got to work (that was my favorite part – because the roses are made in strips, it was easy to use anything I had). I used plain white glue instead of fabric glue, and it seemed to work fine, but I would definitely recommend something stronger and a little less messy if you’re making something much bigger and/or more delicate.
I didn’t roll my flowers as tightly as the original designer, but I prefer the looser design I ended up with. These were the easiest of the three, but the little blue one turned out a little rough around the edges.
Final Size: between 1” and 1 ½” inches
My Result:
 Buttoned Fabric Flowers
Their Result:

- Click for Tutorial
These were the most fun to make, but they also took the most work on my end. After printing out the pattern, cutting all the fabric, and laying out the final design, my fingers didn’t grip the needle as well as I would have liked. Maybe I just need to sharpen my scissors.
The thicker fabric seemed to work best, and I definitely recommend a nice big button for the center.
Final Size: between 2” and 2 ½” inches.
My Result:
 Ribbon Fabric Flowers
Their Result:

- Click for Tutorial
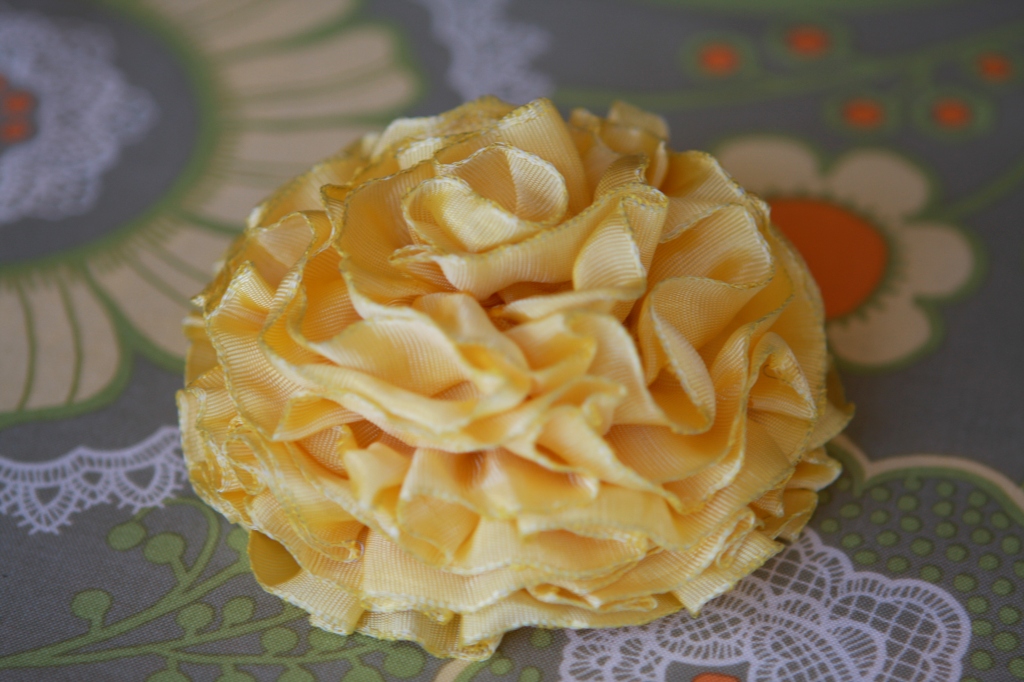
This was the only flower I had to buy material for, but it was worth it. I love the way the scrunched ribbon bends to various shapes (though it does stain, so watch out!), and the shiny material makes for a great addition to an otherwise flat bouquet.
The sewing got a little intense near the end (I think I could have used a thicker needle and thread), but it resulted in a beautiful final product. When I fluffed the resulting bloom, I was happy to see how sturdy it was, even if it didn’t look 100% like the picture.
My only complaint is that this design doesn’t work well for all types of wired ribbon. I bought a few yards of a lighter, sheer purple ribbon as well, but the wire was much less cooperative and it wouldn’t scrunch. I scrapped it and stuck with one.
Final Size: 2 ½”
My Result:


